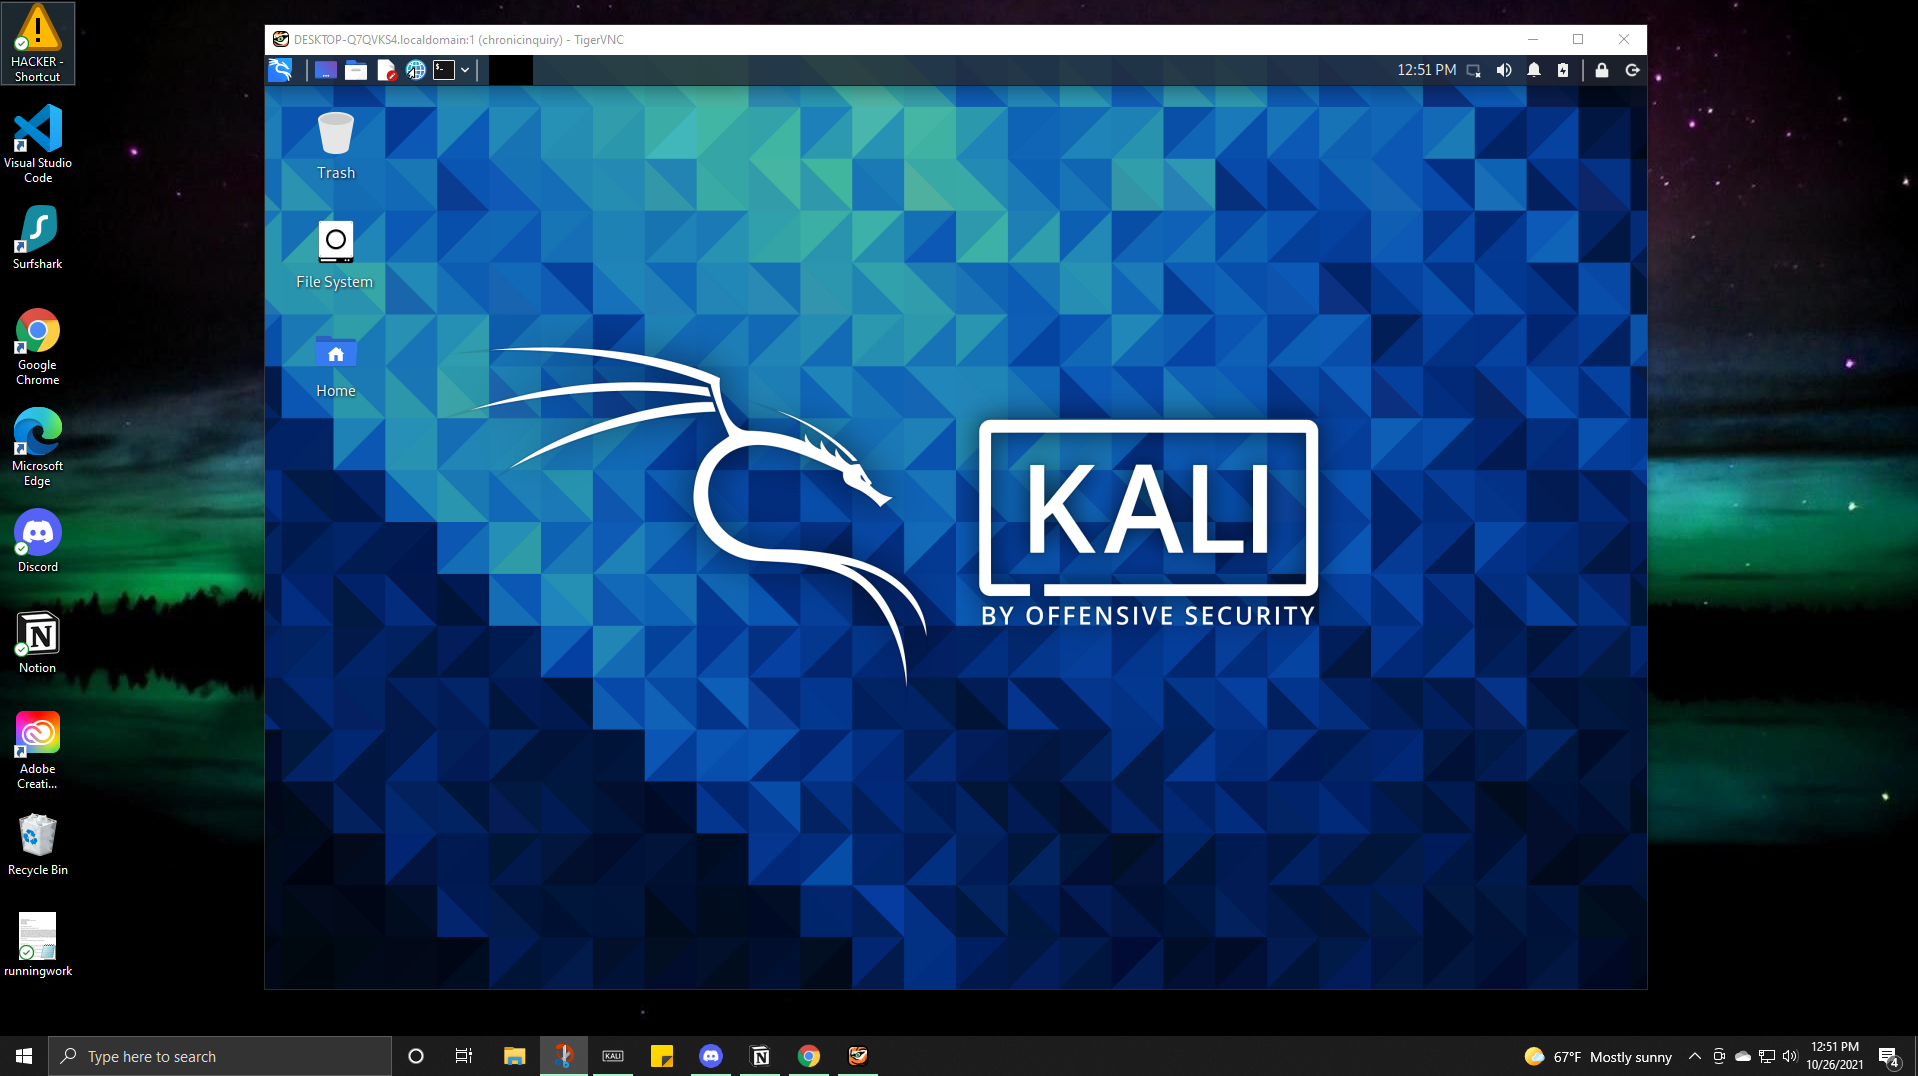
WSL Kali Linux Install Fiasco
2021.10.25
GOAL FOR THE DAY: Install a Kali Virtual Machine on my Windows 10 Home desktop computer.
Shout out to my Discord buddy, codex who taught me about this capability.

What is WSL?
It gives you multiple computers for the price of one! Basically, it is a compatibility layer for running Linux executables (from OS to applications) on Windows machines and servers. My goal was to Install Kali Linux. I thought it would be as easy as…
- Go the the Microsoft store and download WSL Kali Linux
- Enable the proper Windows Features for Hyper-V and Linux
- Install
- Frolic in the Linux wonderland.
But nothing every happens as it should…
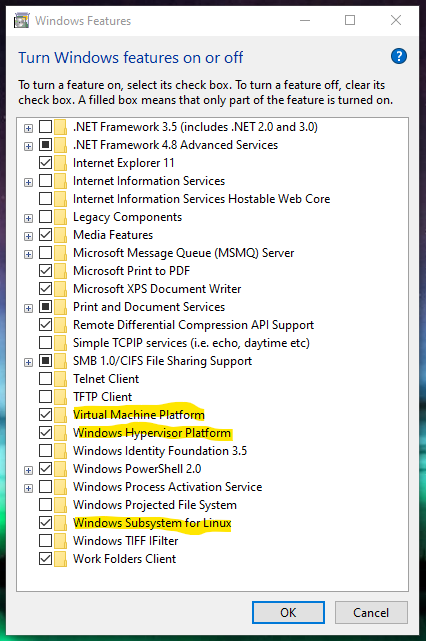
Enable VM Windows Features
Easy peasy.
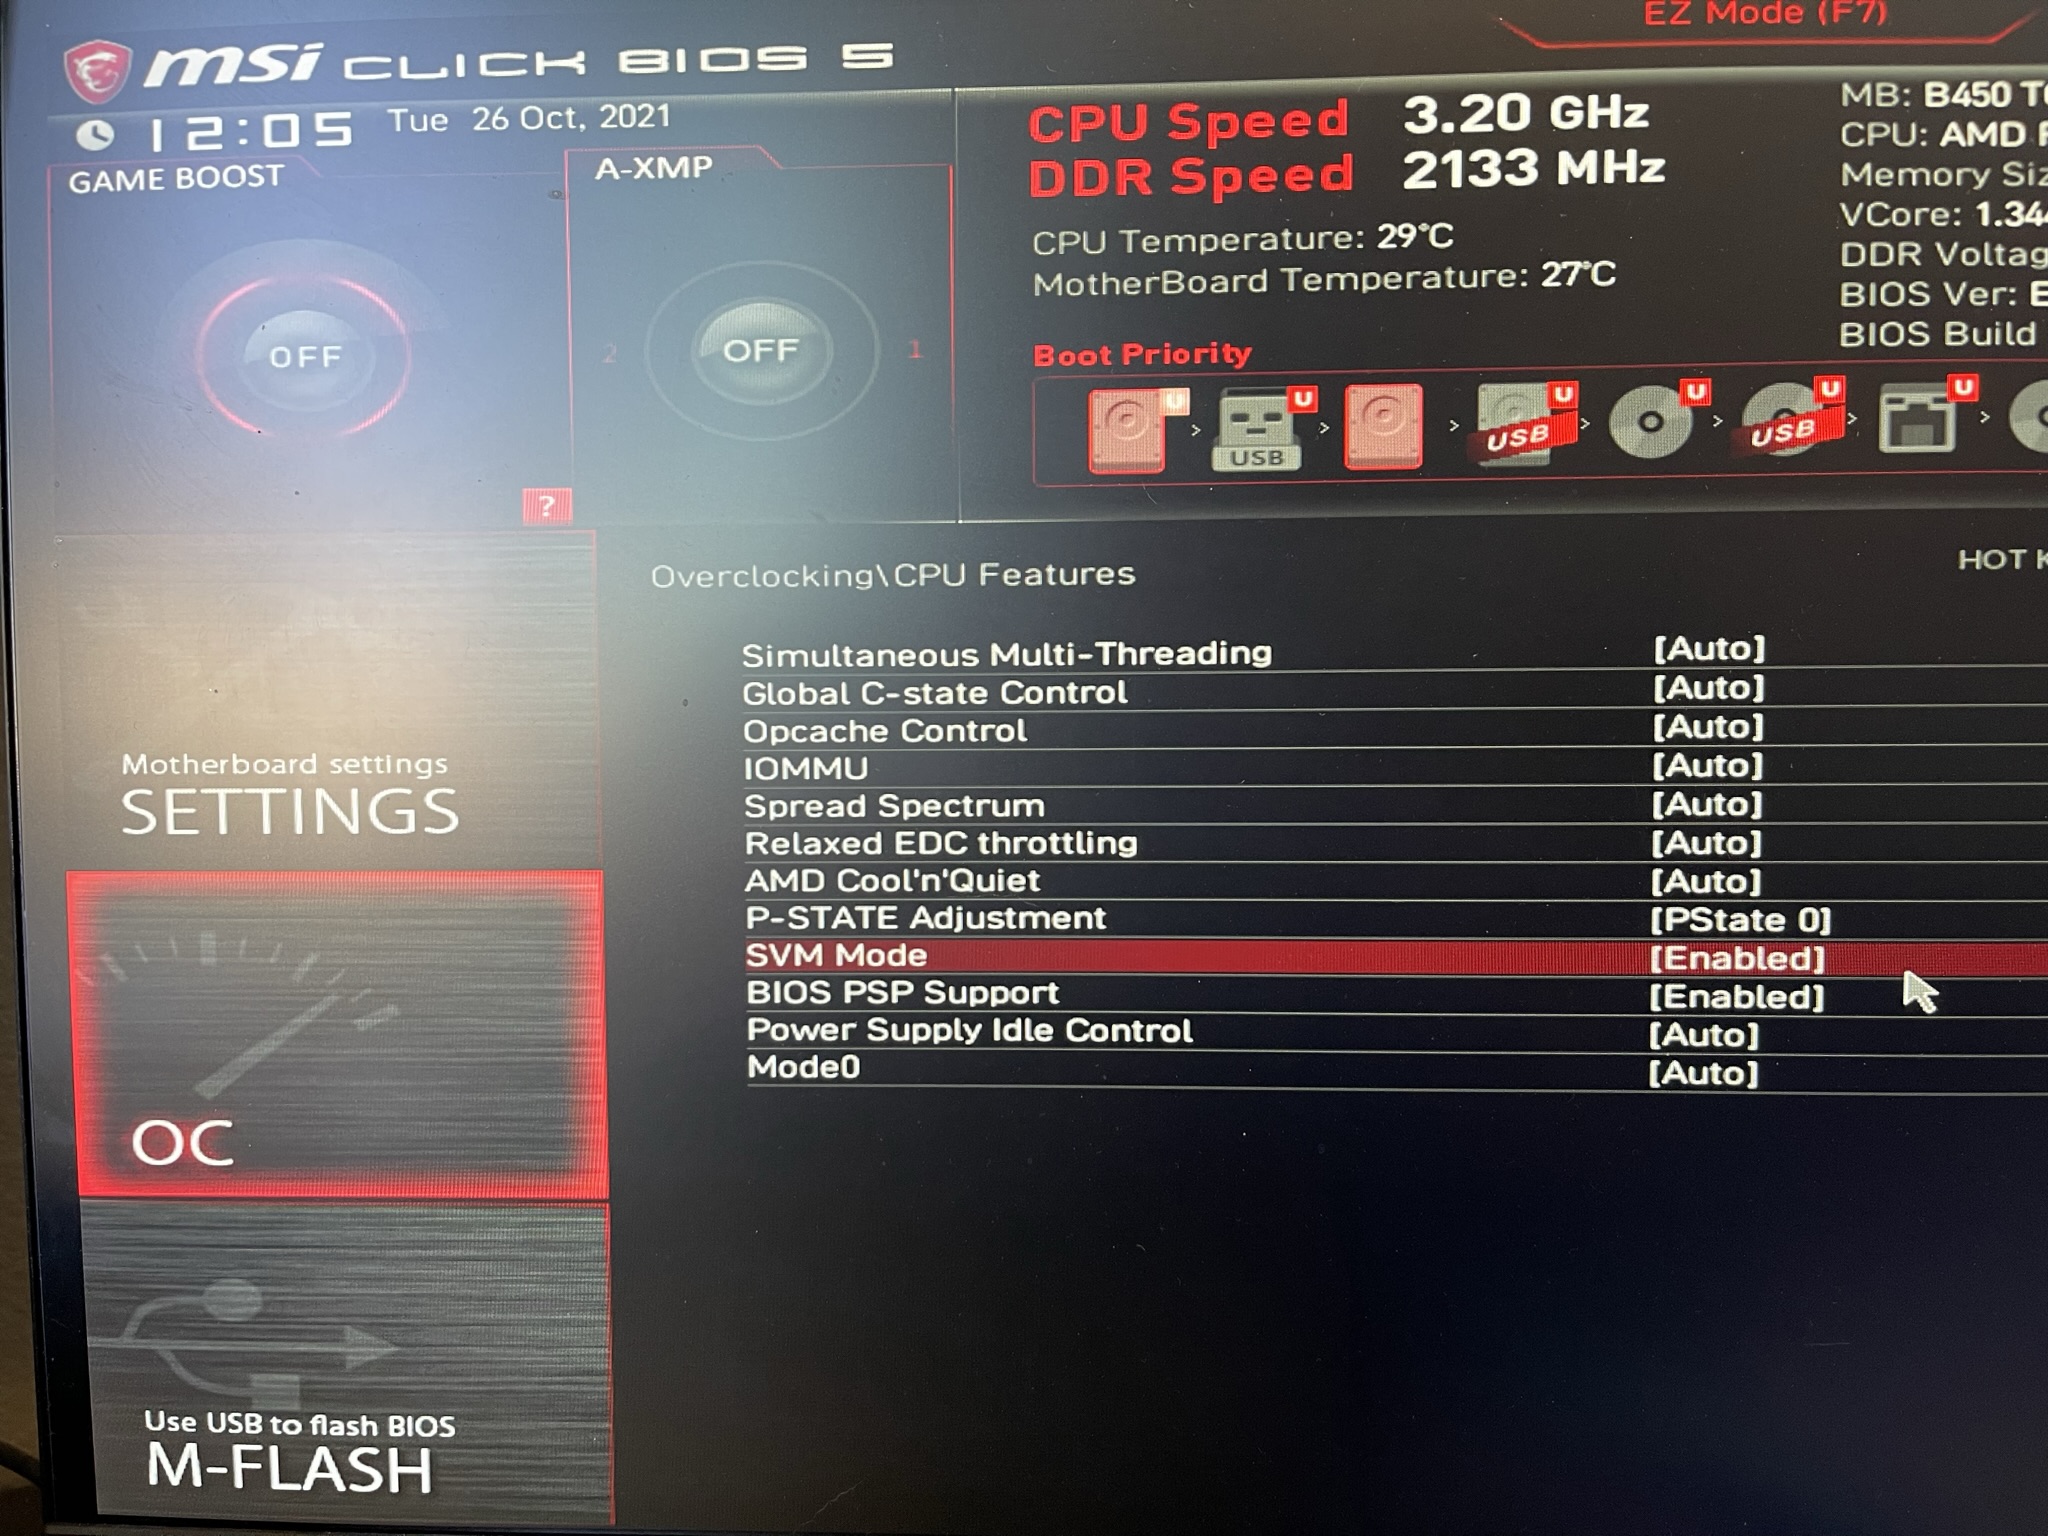
Oops, don’t forget the BIOS!
Of course I’d forget to check the BIOS settings. Off to Google to research how to enable virtualization for my machine. For every motherboard it will be different. For my MSI build, to enable virtualization I had to go to OC (overclocking) > CPU Features > SVM Mode > Enable.
Troubleshooting
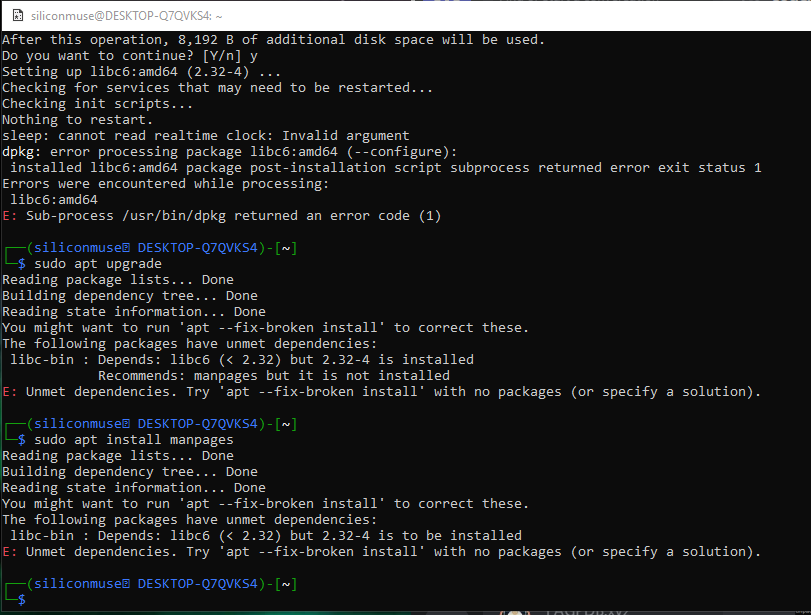
NO GO. 
After Googling, I found recommendations HERE .
They were having similar problems with the sleep clock error and the lib6 dependencies not being met. I tried their solutions to do an install repair, to no avail. Same errors.
And some more…
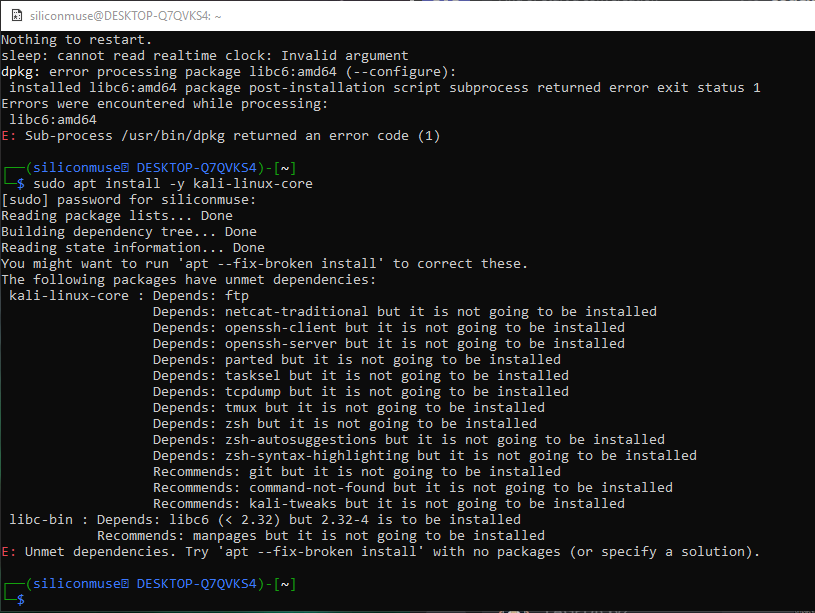
Finally I Googled the more specifically the sleep more error and found THIS.
Which lead me to THIS . Which was the ULTIMATE SOLUTION.
Why WSL2?
But first… I had to update my Windows OS many, many times to reach at least the 2004 build that is required to run WSL2. After following the PowerShell commands on that last link to upgrade to WSL2, I tried to reinstall the WSL-Kali Linux build. Success! BUT…
My Kali is Naked
WSL Kali uses the “minimal install setup” version of Linux that only gives you the terminal. It does not come with kali-linux-headless or any of the kali-tools. Those must be installed separately. That link also gives details on how to download the metapackages and tools.
To get a desktop graphical user interface (GUI), you must install the Win-KeX GUI for Kali VMs.
Once that is installed, you must choose the GUI mode that you want to enter. I want to have Kali running in a window on my Windows desktop, so I chose “Windows Mode”. This is perfect for multiscreen setups, where I can have Kali open and running on my extra monitor.

Success!
Kali running on my Windows 10 Home desktop!
